Anno 1800 First Trade Route: Two-Island Setup
Set up your first Anno 1800 trade route between two islands, protect local stock, and fix loading or unloading problems without constant manual trips.
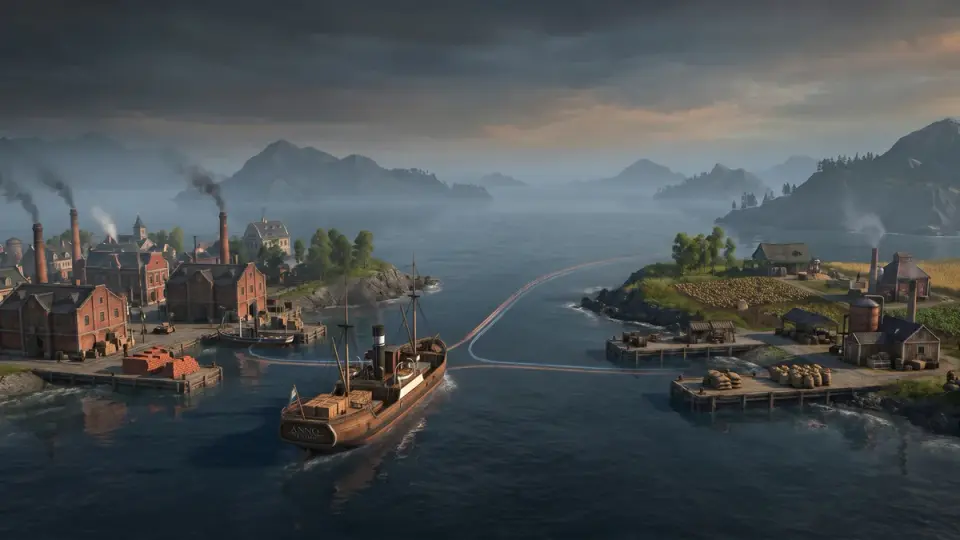
Your first Anno 1800 trade route is ready when you can stop giving the ship orders, not when it starts sailing. To get there, build one two-stop loop between islands you own. Load a real surplus in each direction, protect the stock each island needs, and watch two full circuits before you go back to building.
The short version
- Want to stop interrupting construction? Replace your manual trips with one ship on one repeating route.
- Want the right cargo every time? Give each good exactly one loading island and one unloading island.
- Want to keep both islands supplied? Treat the load amount and the reserve left behind as two separate settings.
- Want proof it works? Compare stock at the same point in each circuit, not after one lucky delivery.
- Want to know what to change? Fix the failed handoff first, then production, then transport.
Anno 1800 is built around trade routes, production chains, multi-region expansion, online co-op. That is why your second island quickly turns into a chore: every delivery you trigger by hand pulls your attention away from the city you were laying out. Its difficulty is medium, and it is not marked beginner-friendly (No). Shipping is where it punishes vague setups, so plan your first route deliberately.
Choose what each island sends
Start with goods, not ships. A route only helps if the source island makes more of a good than it uses, and the destination island actually consumes or stores it.
Open each island's storage and look for two things:
- An export surplus. Pick a good whose stock on the source island holds steady or rises while its own residents and factories consume it. One full warehouse after a quiet hour doesn't count. You want production that keeps refilling it.
- A replenishable return good. Pick a good the second island produces that your home island needs. That keeps the ship working in both directions instead of sailing back empty.
For an example you can swap for your own goods, say your home island has a steady brick surplus and your second island grows potatoes that your home schnapps distillery needs. Bricks go out and potatoes come back.
Before you touch the route menu, write down the reserve each island must keep for each good. That is the amount you would hate to see disappear, such as enough bricks to finish the next housing block or enough potatoes to keep the distillery running between deliveries.
Get the ship and both harbors ready
Pick a ship that has no other job. If it's halfway through a manual order or carrying goods from an earlier trip, empty it first. Open its cargo panel and clear any slots holding goods that aren't part of this route.
Check how many cargo slots the ship has. Each slot holds one type of good, and the panel shows how much fits. Those numbers decide how much you can move per visit, so use your ship's real figures rather than a number from someone else's save.
Then confirm both islands can trade:
- Each island has a trading post where the ship can dock.
- The destination has storage room for the incoming good. Each island's warehouses set a cap per good, and goods at the cap can't be unloaded.
An automatic route is a loop, not a string of orders. A manual order runs once and leaves the ship idle. A route sends the ship from stop to stop and back to the first stop, repeating the same actions until you change or pause it.
Create the two-stop route
Open the trade route menu and create a new route. Name it after what it does, for example "Bricks out, potatoes home," so you know exactly what to check when something goes wrong.
- Add your home island as the first stop.
- Add the second island as the second stop.
- At the home stop, set bricks to load and set the amount you want to take per visit.
- At the second island's stop, set bricks to unload.
- At the second island's stop, set potatoes to load with their amount.
- At the home stop, set potatoes to unload.
- Assign your ship to the route and make sure the route is active, not paused.
Here is the whole loop at a glance, using the example goods:
| Good | Loads at | Unloads at | Slot use |
|---|---|---|---|
| Bricks | Home island | Second island | One slot outbound |
| Potatoes | Second island | Home island | One slot return |
| Anything else | Nowhere | Nowhere | Keep empty |
Every good needs both a load stop and an unload stop. A good that loads but never unloads is the most common way a first route jams itself.
How cargo slots and leftovers behave
Unloading frees a slot, and the next stop can fill it again. On a two-slot ship, bricks can use one slot or even both on the way out, and potatoes can reuse those slots on the way back. That only works if the bricks actually come off at the second island.
Cargo that can't be unloaded stays aboard. If the second island's brick storage is full, the remaining bricks ride the ship back home and block the slot the potatoes needed. Because the home stop only loads bricks, they don't come off there either, so that slot stays lost to the return good until the second island has room for them again. This mistake wastes a lot of time, because the ship keeps sailing and looks busy.
Set load amounts so that each good fills only the slots it needs, and leave the remaining space for the return good.
Protect local stock before the first departure
Three different settings affect how much stays on an island, and they do different jobs:
- Load amount. This is how much the ship tries to take per visit. It controls the size of each delivery and doesn't know or care what the island needs.
- Minimum stock. This is the reserve the ship must leave behind. Set it on the loading stop's entry for that good in the route editor. This is the control that stops an export from draining the source island.
- Passive trade. These are the buy and sell thresholds in the island's own trade settings. They decide what visiting traders can buy from your warehouse or sell into it. Your route ignores them, but they can still drain or flood the same stock.
Set the brick reserve at the home stop to the figure you wrote down earlier, and set the potato reserve at the second island's stop. Then open each island's trade settings and make sure neither good is set to sell below that reserve. Otherwise a trader can quietly take what your route was protecting.
To confirm the safeguard, watch the source island's stock right after the ship finishes loading. It should never fall below the reserve you set. The ship takes what the stock and the reserve allow and then moves on, so when production hasn't caught up it leaves with a partial load or none. That keeps the loop moving, and it means a light load is a production signal, not a broken route.
Watch two full circuits before you leave it alone
One delivery proves the route can work. Two complete circuits show that it keeps working. Follow the ship through each handoff:
- Loading. At the home island, check the cargo panel. Bricks should be aboard and nothing unexpected should be in any slot. Note home brick stock.
- Arrival and unloading. At the second island, the bricks should come off and the slot should be empty. Note the second island's brick stock.
- Return loading. Potatoes should go into the free slot. Note potato stock on the second island.
- Home unloading. Potatoes come off at home. The ship should then head back toward the second island without any new order from you.
Compare stock at the same moment in each circuit, for example just after the ship leaves your home island. The readings won't match exactly. Residents keep consuming between visits, and the trip can run longer when the ship queues at a busy dock or steers around traffic. What matters is the trend: both islands should stay above their reserves circuit after circuit, not slide closer to empty.
Is your route ready to leave alone?
When every box is ticked twice in a row, go back to building. A route that holds both islands above their reserves is good enough, even if a more efficient version exists.
Find the failed handoff
When deliveries go wrong, find the stop where the handoff fails and change one thing at a time. A single small correction tells you exactly what fixed it.
| Symptom | Check | Fix | Retest |
|---|---|---|---|
| Leaves source empty | Source stock vs. reserve | Lower the reserve or raise production | Watch the next loading |
| Cargo stays aboard | Destination storage cap | Add storage or cut the load | Watch the next unload |
| Ship sits at a dock | Dock queue, route paused | Unpause, add a pier | Time the next departure |
| Unexpected goods aboard | Leftover or extra load entry | Clear the slot, delete the entry | Inspect slots after loading |
| Arrives, still short | Stock trend per circuit | Raise the load or add a ship | Compare two more circuits |
A few of these need a closer look:
- Empty departures almost always mean the source has less than its reserve, or that a passive sell setting is draining the stock before the ship arrives. Look at the source island's stock first, not the ship.
- Unexpected goods usually come from cargo left over from a manual trip, or from a good that has a load entry but no unload entry. Clear the slot from the ship's cargo panel and delete or complete the entry.
- Shortages despite deliveries are the only case where transport might be the real problem, so decide what to change using the order below.
Fix settings, add production, or improve transport
Work through the causes in this order, because each one hides the next:
- Fix configuration or blocked cargo first. Check for a missing unload entry, leftover cargo, a paused route, or full destination storage. Correct it, then run one circuit.
- Restore production when the source lacks surplus. If the ship leaves light or empty while the reserve holds, the route is working and the source island simply isn't making enough. Build another production chain for that good before you touch the ship.
- Improve transport only when stocked goods can't reach demand fast enough. If the source stays comfortably above its reserve but the destination still trends down, raise the load amount within your ship's free slots. If the slots are already full, add a second ship to the same route so deliveries come more often.
- Leave it unchanged when both islands hold their reserves. If stock wobbles between circuits but never trends toward empty, the route is doing its job.
The tradeoff to remember: a shortage with a well-stocked source is a transport problem, and a shortage with a drained source is a production problem. Check which island is short, run one more circuit to confirm the fix, and then go back to laying out your city.